Implementing ReadyWorks Report Builder effectively requires a systematic approach. Follow these steps to create powerful, actionable reports for your environment:
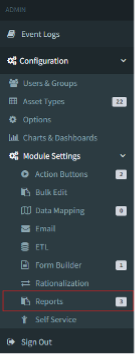
1 - Accessing Report Builder
- Navigate to the Admin section of ReadyWorks.
- Locate and click on "Configuration" in the menu.
- Select "Report Builder" from the dropdown options.
2 - Creating a New Report
- Click the "New Report" button in the Report Builder interface.
- Provide a name for your report. Use a clear, descriptive name that follows your organization's naming conventions.
- Select the primary data source for your report (e.g., Computer, User, Application).
- Choose whether to enable the report immediately or save it as a draft.


3 - Adding Columns
- Click "Add Column" to begin selecting data fields.
- Choose from available fields related to your primary data source and linked assets.
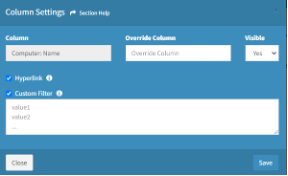
- For each column:
- Set the column header name.
- Configure any specific formatting options. E.g
- Hyperlink to the asset page
- Customize filter dropdown options (lookup list, choice or checkbox columns only)
- Add calculation columns if needed:
- Click "Add Column" and select "Calculation Column."
- Choose the calculation type (e.g., count).
- Select the asset and field to perform the calculation on.
4 - Implementing RAG Statuses
- First, create RAG statuses in the ReadyWorks configuration:
- Navigate to the RAG Status configuration area in the admin section.
- Define your status options (e.g., "Sufficient Disk Space," "Insufficient Memory").
- Assign colors and determine if each status contributes to a "ready" or "not ready" state.

- In your report, add custom status columns:
- Click "Add Column" and select "Custom Status Column."
- Choose the field to base the status on.
- Map field values to your defined RAG statuses.
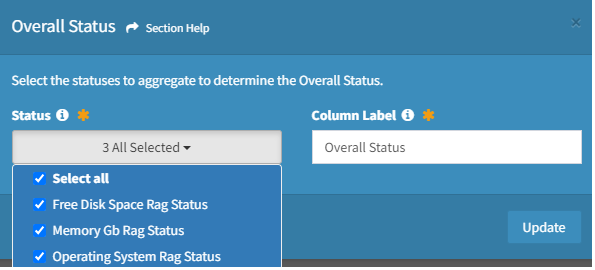
- Create an overall status column to aggregate multiple custom statuses:
- Add another column and select "Overall Status Column."
- Choose which custom status columns should contribute to the overall status.
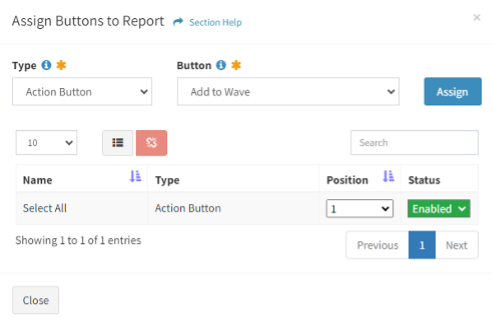
5 - Adding Action Buttons
- Go to the Admin section and select "Get Actions."
- Click "New Action Button" or choose from existing templates.
- Configure the button's behavior using the scripting interface within the Action Button module:
- Define what happens when the button is clicked.
- Specify any conditions for when the button should be active.
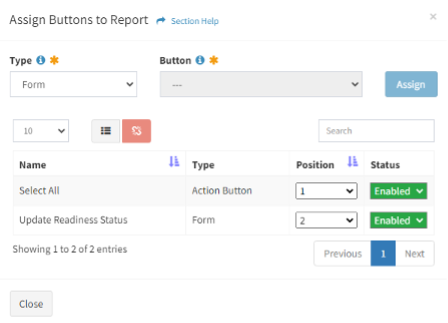
- Add the configured action button to your report in the Report Builder interface.
6 - Configuring Forms
- Navigate to the Admin section and select "Form Builder."
- Click "New Form" and select the asset type it will modify.
- Add fields to your form:
- Choose which fields from the asset should be editable.
- Set any field validation rules or required fields.
- Save the form and add it to your report as an action button.
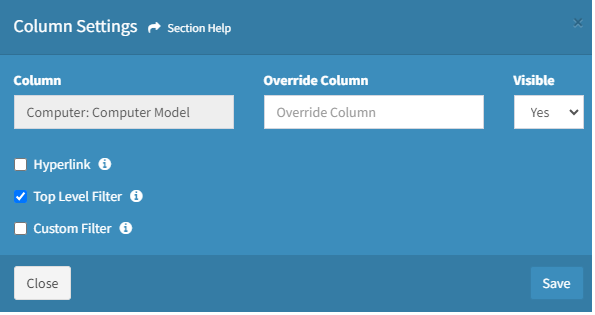
7 - Setting Up Top-Level Filters
- For each column you want as a top-level filter:
- Click on the column settings.

- Select "Top-Level Filter."
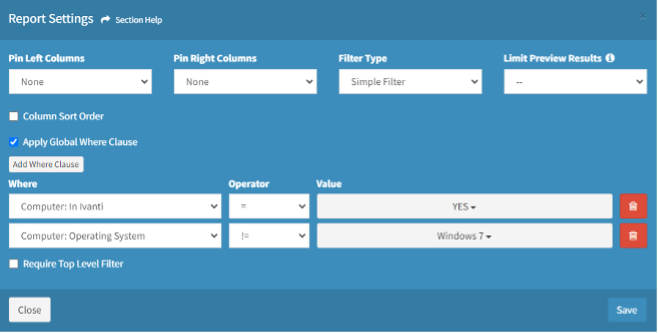
8 - Applying Global WHERE Clauses
- In the Report Settings, locate the "Apply Global WHERE Clause" option.
- Click to add a new clause.
- Select the field, condition, and value for your global filter.
- Add multiple clauses if needed, considering how they interact.
9 - Previewing and Publishing Reports
- Use the "Preview" function regularly as you build your report to check its appearance and functionality.

- Test all interactive elements, including filters, sorting, and action buttons.
- Once satisfied with the report:
- Click "Publish" to make it available to other users.
- Set appropriate access permissions.
- Choose where the report should appear in the ReadyWorks interface.
- Add any necessary documentation or usage instructions.
By following these steps, you'll create comprehensive, interactive reports that provide valuable insights and enable efficient actions. Remember to iterate and refine your reports based on user feedback and changing operational needs.